
How ordering a custom tile mural works
Creating a bespoke tile panel or azulejo mural is usually takes a few different steps. The list below will give you a general idea of how ordering a custom mural usually works from start to finish.
Our step-by-step guide to ordering your tiles:
Collapsible content
Step 1: Browse our gallery
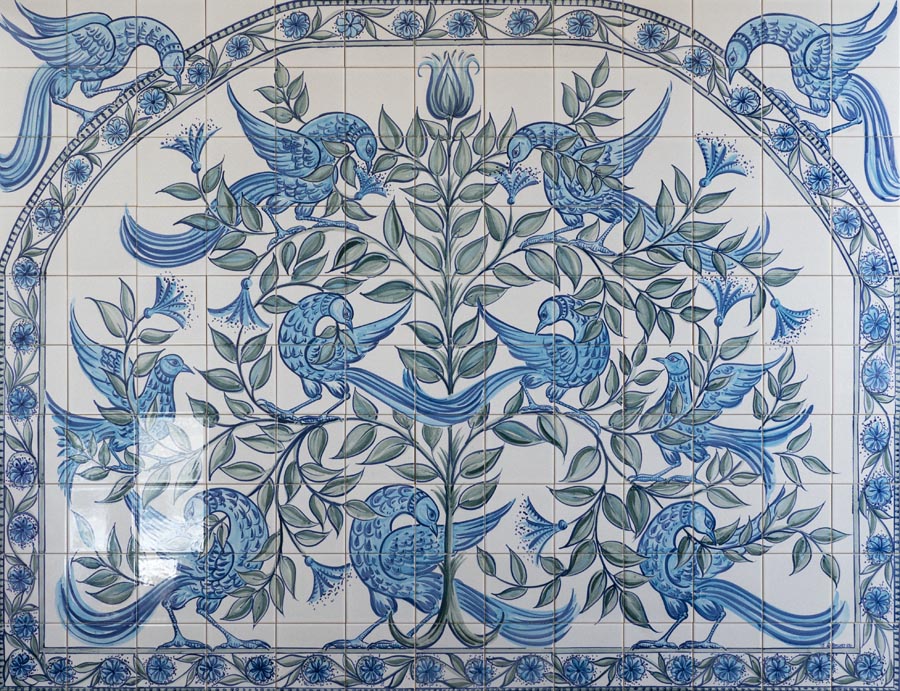
You can begin by browsing our tile gallery of previous projects and choose a theme you would like for your mural.
Step 2: Think colourfully
From within our colour palette, consider which might work well for your space.
If you would like our advice, we are happy to help.
Step 3: Measure twice, paint once
Carefully measure the space where you intend to place your panel, and then decide the size you want your panel to be.
We advise masking out the desired shape on the wall to get a good impression of what's needed in the space.
Step 3: Get some help
Contact us, or better yet visit us, to discuss your panel. We will help to develop the concept.
Step 4: A rough sketch
If you would like to get a sense of how the mural will look when it is finished, we are happy to draw a simple sketch.
Step 5: We'll get started
Once everything is decided, and we are on the same page, we will require a 50% deposit before we start a project.
Step 6: The best things take time
We will be able to give you an estimated time to completion, which will vary depending on our waiting list. At most times a 4-6 week window is typical.
Step 7: Install and enjoy
When everything is ready, you will need an expert tiler or builder to fix your panel in its final location.
We don't do this ourselves, but we do know some local experts that can help.
Ready to begin your order?
Great! Please give us an idea of what tiles you are looking for.